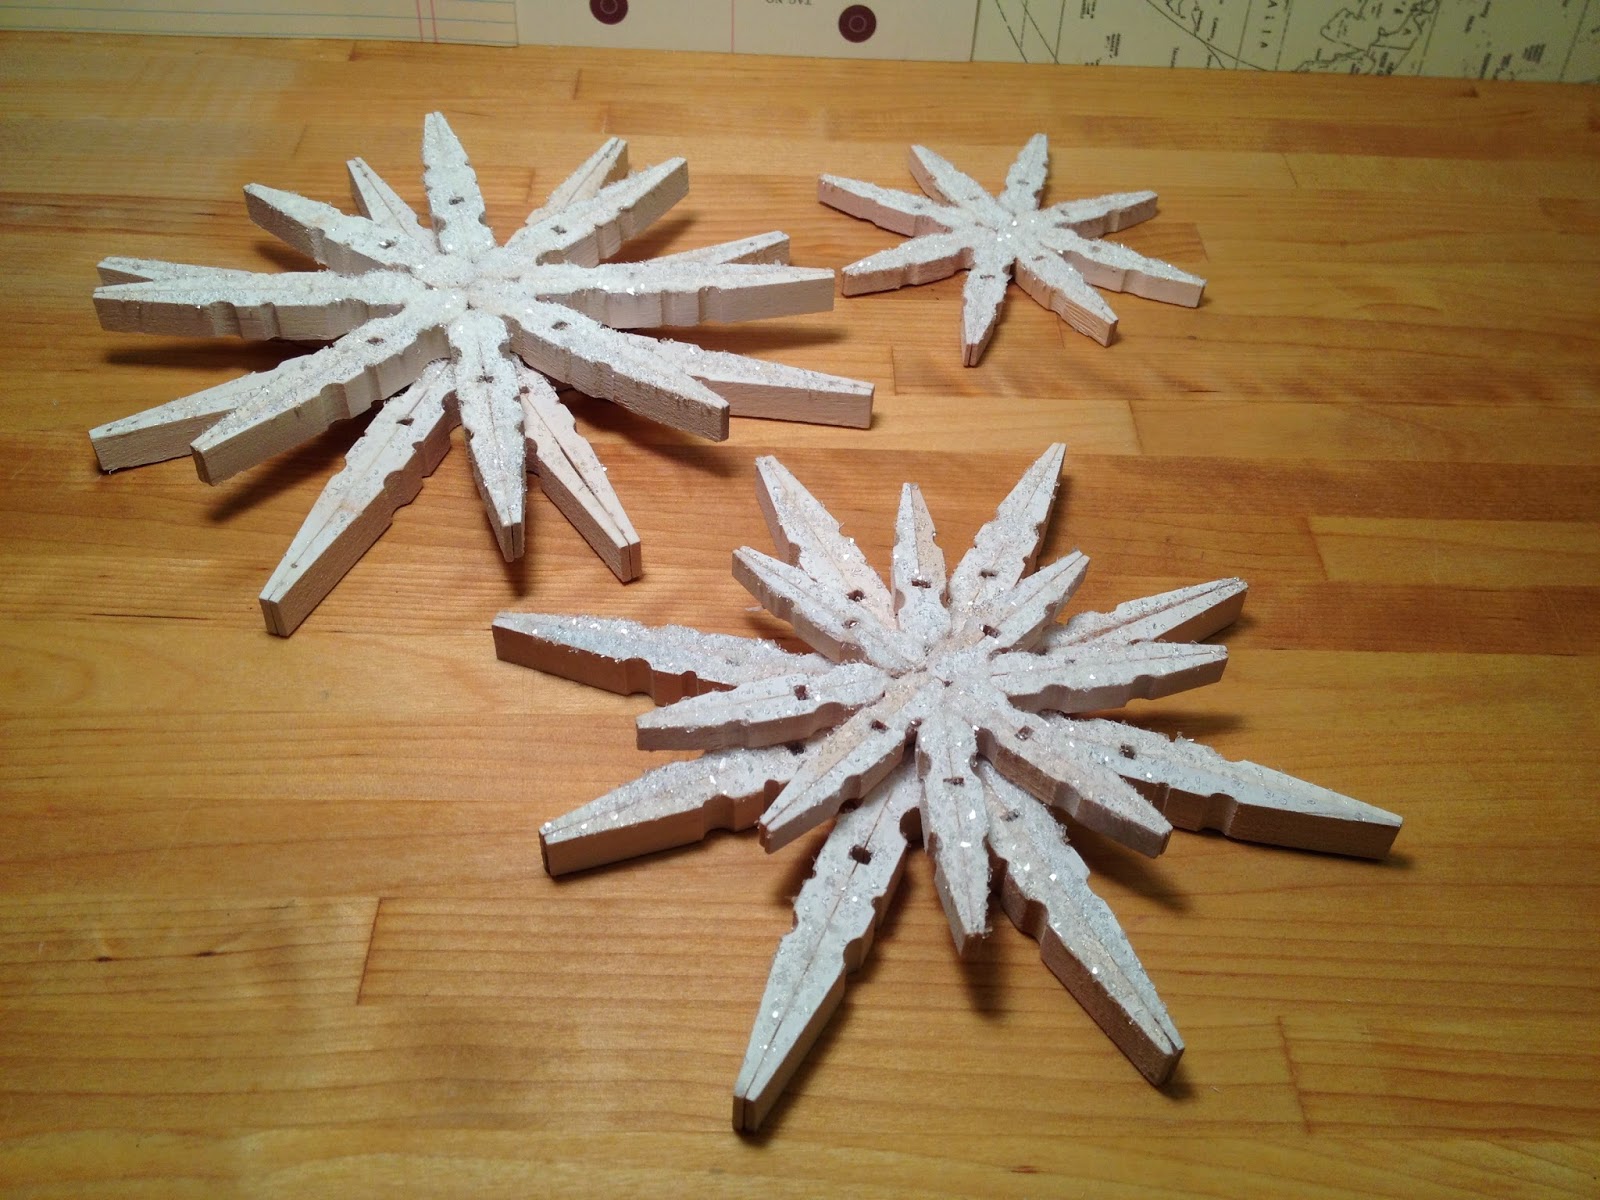
I had created this Christmas Tree Canvas, so I knew that the Xtreme worked on wood. I gathered up my supplies and got to work! Let's make it snow - IN FLORIDA!
Tombow Xtreme Permanent Adhesive
Tombow Mono Multi Liquid Glue
Small, medium and Large spring style clothes pins (8 for each snowflake)
Design Master ColorTool spray paint - flat white
Chunky glitter
Instructions:
Remove the springs from
the clothes pins. You will need 8 clothes pins for each snowflake.
Attach flat sides of clothes pins together with Xtreme
adhesive. There is a specific way to apply the Xtreme: run a line of adhesive
then snap it off at a 90degree angle.
Apply Xtreme to both sides of the
diagonal surfaces and attach as show in photo. The double application makes the
Xtreme even more powerful!
Spray top face of snowflakes with Design
Master ColorTool Flat White spray paint, let dry. I didn't worry about the
sides as I like the rustic look.
Once dry, apply a thin layer of Mono
Multi Glue with the broad tip. Sprinkle with chunky glitter, shake off excess
and let dry.
Layer the snowflakes on top of each other or leave single.
Attach a ribbon and hang on the tree or use as a package topper instead of a
bow.
Thanks to Tombow for the Xtreme adhesive and I hope you enjoyed my snowflakes!
Thanks for stopping by! -Beth


1 comment:
These are so great! I see next year's christmas gifts:) I think I'll try it with the tiny pins--so fun!
Post a Comment