

I have had this idea for a Hot Air Balloon "floating" around in my head for a while now, but only recently had the opportunity to actually create them. It all came together quite nicely - I had a Design Team project assignment for Whim So Doodle, so I received these great papers and embellishments from the Oh, Darling! line by Crate Paper AND I found these (originally white) paper lanterns in two sizes from the Dollar Bins at Michael's - KISMET!
Materials:
- Crate Paper - Oh, Darling! Papers, Stickers and 3D Embellishments.
- Americana Paints by DecoArt - Moon Yellow, Coral Rose and Indian Turquoise.
- Aleene's Original Tacky Glue by I Love To Create.
- Art Anthology - Colorations Spray Mists in Peacock, Timeless and Paprika.
- Golden Soft Gel Medium Matte.
- Hazel & Ruby - Assorted Sequins in Pinks.
- Paper Lanterns - 8" (1) and 4" (2).
- Paper Mache Box Bottoms (3).
- Bakers Twine, Ball Fringe (pink & blue), Lace Trim (pink).
- Border Punches by Fiskars - Threading Water, Bracket and Scallop. Regular Punches by Martha Stewart - 1" Circle, Starburst, Flower and 1" Square.
- Flowers, Rhinestones, Pearls, Buttons, etc.
- Double sided adhesive, paint brush, pencil, ruler, paper trimmer and scissors.

Here's how it made it:
1.) Pop up the paper lanterns and lock in place. Tint lanterns with spray mists. I found that the Art Anthology mists covered the best and had the most vibrant color when dry. Paint the inside of the paper mache box bottoms, let dry. Measure and cut paper to fit around edge and on bottom of paper mache boxes. Attach with Gel Medium, let dry.
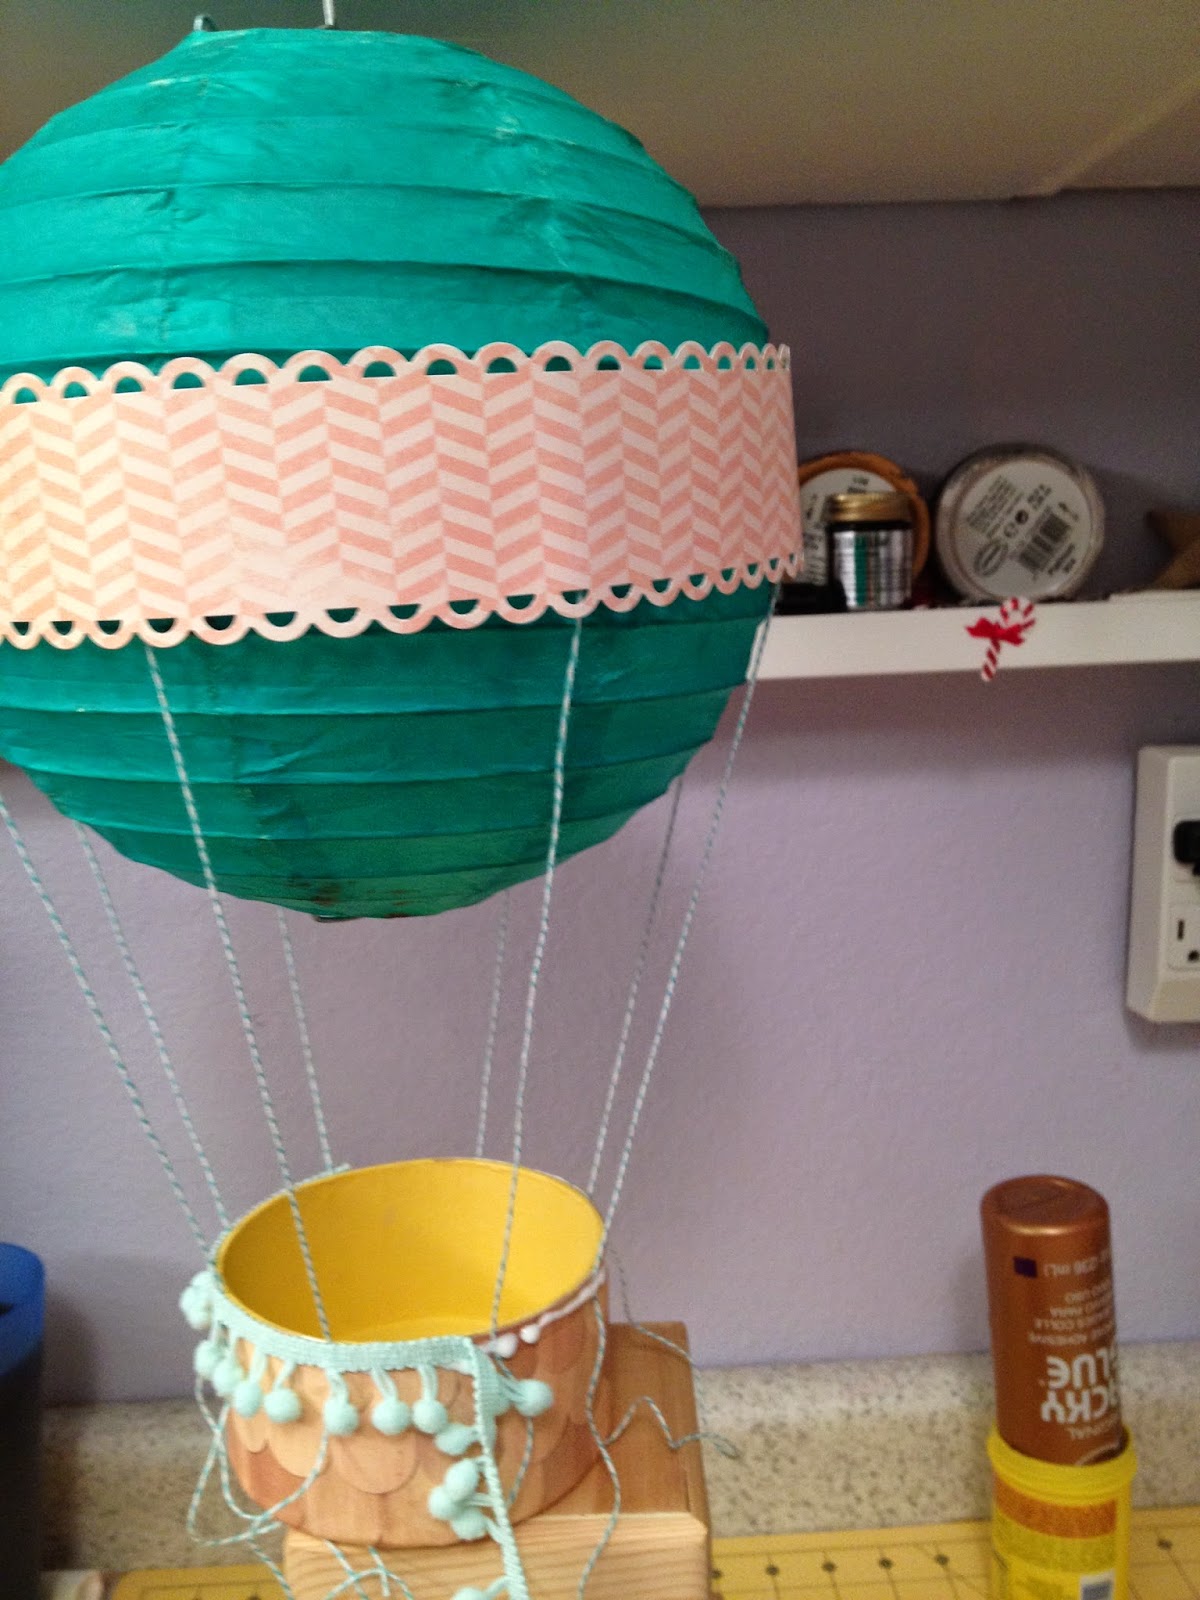
2.) Measure, cut and punch strips of paper to fit around center of balloon. Attach 8 lengths of baker's twine to inside of strip with Tacky Glue, let dry. Adhere paper strip to center of balloon with double sided adhesive tape, press gently to secure. Adhere baker's twine strings to sides of balloon basket with double sided tape. Glue ball fringe around edge and trim twine. Glue remaining pieces of twine to top half of balloon.

3.) Embellish balloons with Oh, Darling! stickers, mini flowers, punched flowers, punched shapes, buttons, rhinestones and pearls as you like.

4.) Cut out little girls from the Oh, Darling! papers and glue to inside of balloon baskets.


5.) Create flag for top of balloon using a wooden toothpick, Oh, Darling! paper and letter stickers.

6.) Place blonde girl Oh, Darling! 3D Sticker in the large balloon basket.

7.) Since balloons will be hanging, embellish bottom of balloon baskets with Oh, Darling! 3D Stickers!

The possibilities are endless with the color palettes and themes that can be created - GO WILD and FLY HIGH!
Thanks for stopping by! -Beth
4 comments:
so cute Beth!
These are adorable, and so cleverly put together. TFS I may have to borrow this idea.
Beth, beautiful original artwork...Love your designs!
To know more information visit anniversary gifts because In the historic Shamrock Hotel building there is a sweet little space filled to the brim with all things cute and kooky and quirky. This is bob boutique. Sonia Brit opened bob in 2004 and her shop now stocks 48 labels - 45 are Australian designed, made and owned. This is because Sonia designs and makes a lot of the unique products herself.
Post a Comment